A fun, beginner-friendly DIY musical instrument made from craft sticks, rubber bands, and a straw. This project is great for introducing kids to sound, vibration, and how pitch changes. Quick to build, safe, and perfect for classrooms or weekend experiments.
Difficulty Level: Easy
Concepts: Sound, Vibration, Waves, Sound Travel
Materials List
- Two large craft sticks / tongue depressors
- Two small rubber bands
- One plastic drinking straw
- One small piece of paper
- Scissors
Steps
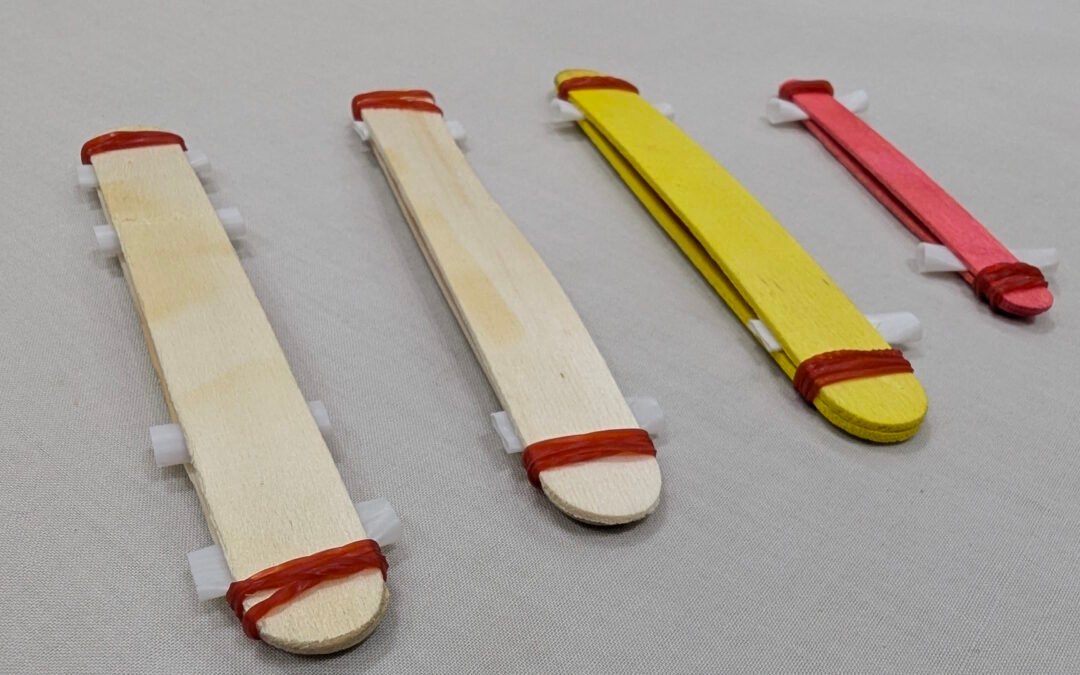
- Cut two small pieces of plastic straw—about 1 cm each.
- Place a small strip of paper between the two craft sticks.
- Wrap one rubber band tightly around one end of the sticks.
- Slide one piece of straw between the sticks near the rubber band.
- Wrap the second rubber band on the other end.
- Slide the second straw piece into the opposite side.
- Blow gently into the gap—the paper vibrates and produces sound.
Science Behind It
This DIY harmonica works through vibration. When you blow air between the sticks, the thin paper strip vibrates rapidly. These vibrations move the air, creating sound waves. The straw spacers adjust the tension and airflow, affecting the pitch and tone. It’s a simple way to demonstrate how musical instruments produce sound.
Watch the video!
Keywords: popsicle stick harmonica, diy harmonica, kids sound experiment, vibration science activity, craft stick harmonica, stem sound experiments, easy musical instrument diy, straw harmonica project, vibration demonstration, sound waves for kids, classroom stem activity