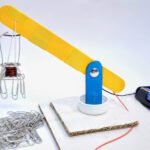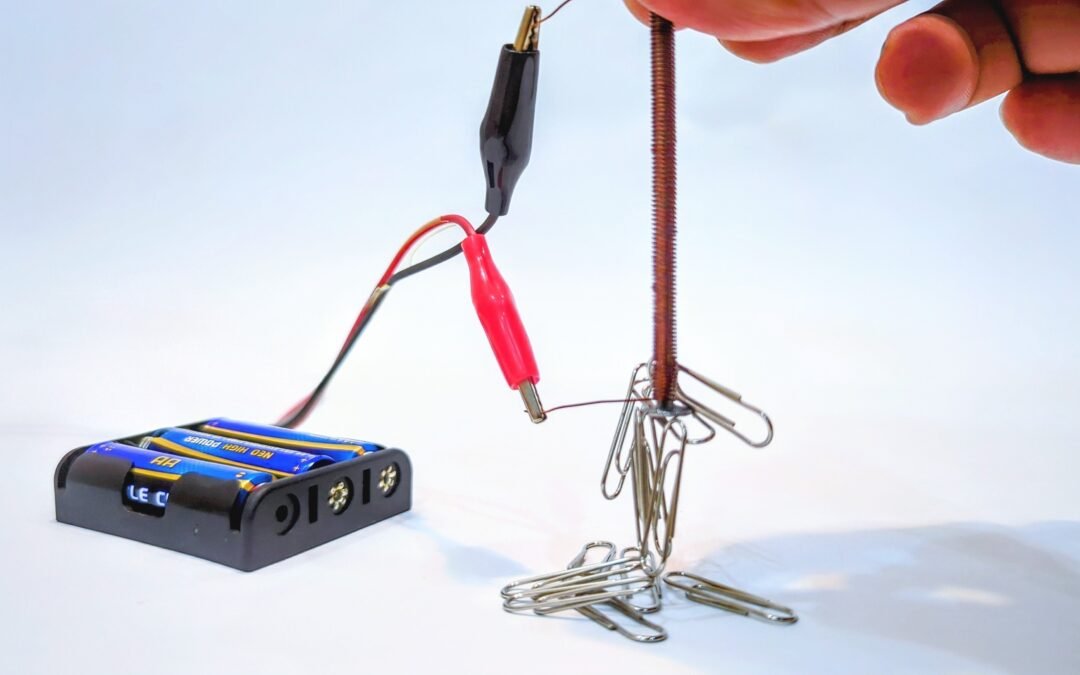
Create a working electromagnet using copper wire, batteries, and an iron nail. This exciting STEM experiment demonstrates how electricity creates magnetism, how electromagnets differ from permanent magnets, and how a compass can help identify magnetic poles. The finished electromagnet was strong enough to lift multiple paper clips like a tiny magnetic crane.
Difficulty Level: Easy
Concepts: Electromagnetic Induction, Magnetism, Electromagnet
Materials List
- 2 inch iron nail
- 28 AWG (or 30 AWG) insulated copper wire
- 2 AA batteries
- AA battery holder
- Electrical wires
- Paper clips
- Compass
- Tape or hot glue
- Switch (optional)
Steps
- Prepare the nail
- Take the iron nail and make sure it is clean and straight.
- Wrap the copper wire
- Carefully wrap the insulated copper wire around the nail many times.
- Leave wire ends free on both sides for battery connection.
- The more turns you add:
- The stronger the electromagnet can become.
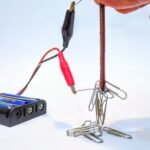
- Connect the batteries
- Attach the wire ends to the AA battery holder terminals.
- Once connected:
- Electricity flows through the coil.
- Test the electromagnet
- Bring the nail close to paper clips.
- The nail should now attract and lift them like a magnetic crane. ⚡
- Disconnect the batteries
- Remove one wire connection.
- Notice how the magnetism disappears when electricity stops flowing.
- Use a compass
- Bring a compass close to each end of the electromagnet.
- Observe how the compass needle reacts.
- This helps identify:
- North pole
- South pole
- Compare with permanent magnets
- Test the electromagnet beside a permanent magnet and compare how they behave.
Science Behind It
This experiment demonstrates electromagnetism — the connection between electricity and magnetism.
How the Electromagnet Works
When electricity flows through the copper wire:
- A magnetic field forms around the coil.
The iron nail strengthens this magnetic field and becomes magnetized.
This creates an:
- Electromagnet ⚡
Why the Nail Became Magnetic
Iron is a magnetic material.
Inside iron are tiny magnetic regions called:
- Magnetic domains
Normally these domains point in random directions.
When electricity flows through the wire coil:
- The magnetic field lines up the domains.
This temporarily turns the nail into a magnet.
Electromagnet vs Permanent Magnet
A. Electromagnet
- Needs electricity to work
- Can be turned ON and OFF
- Strength can be changed by:
- More wire turns
- More batteries
- Different core materials
B. Permanent Magnet
- Does not need electricity
- Always stays magnetic
- Cannot easily be switched off
Using a Compass to Find Magnetic Poles
A compass needle is itself a tiny magnet.
When brought near the electromagnet:
- The compass needle aligns with the magnetic field.
One end of the electromagnet behaves like:
- North pole
The opposite end behaves like:
- South pole
This helps us understand magnetic polarity and magnetic fields.
Experiment Ideas 🧪
- Add more wire turns and compare strength
- Try different nail sizes
- Test more batteries
- Compare iron vs steel cores
- Measure how many paper clips can be lifted
- Reverse battery connections and observe pole changes
Safety Notes
- Do not leave the batteries connected for too long.
- The wire and batteries may become warm.
- Avoid short-circuiting the batteries directly.
- Keep small metal parts away from very young children.
Watch the video!
Keywords: electromagnet experiment, DIY electromagnet, magnetic crane project, electricity and magnetism STEM, homemade electromagnet, electromagnet science project, magnetic field experiment, compass magnet activity, STEM electricity project, electromagnet for kids