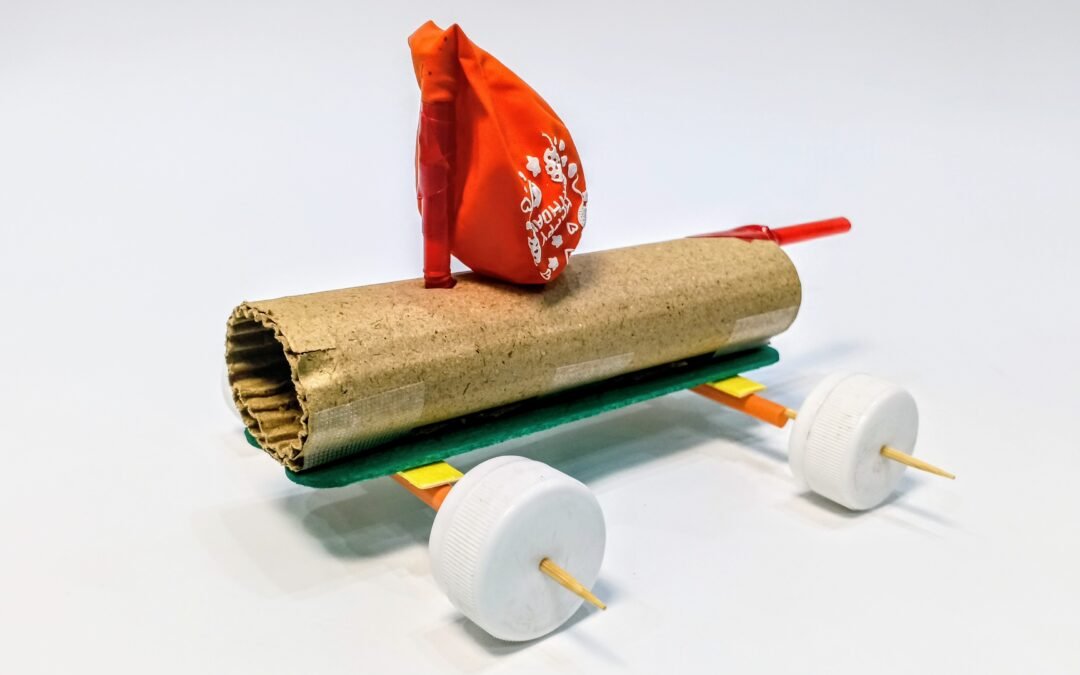
Build your own balloon-powered car using simple materials and discover how air creates thrust to move objects forward. This fun STEM activity helps kids explore Newton’s Laws of Motion while learning through hands-on play and experimentation.
Difficulty Level: Easy
Concepts: Thrust and Reaction, Laws of Motion, Potential Energy
Materials List
- Balloon
- Cardboard tube (or paper roll)
- 4 bottle caps (for wheels)
- 2 wooden skewers (axles)
- Straw
- Rubber band or tape
- Glue (hot glue recommended with supervision)
- Cardboard base or foam sheet
Steps
- Make the base
- Cut a small rectangular piece of cardboard or foam for the car body.
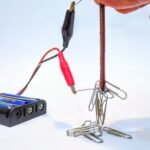
- Attach the wheels
- Push skewers through straws and fix them under the base. Attach bottle caps as wheels.
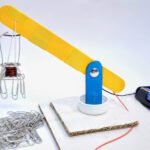
- Prepare the balloon engine
- Insert a straw into the balloon and secure it tightly with tape or a rubber band.
- Mount the balloon
- Tape the balloon (with straw) on top of the car so the straw points backward.
- Inflate and hold
- Blow air into the balloon through the straw and pinch it to keep air inside.
- Release and watch!
- Place the car on a smooth surface and let go - watch it zoom forward
Science Behind It
This fun project demonstrates thrust and Newton’s Third Law of Motion.
When you release the balloon, air rushes out from the back. This creates a force pushing backward.
According to Newton’s Third Law:
“For every action, there is an equal and opposite reaction.”
So when air pushes backward, the car is pushed forward!
This is the same principle used in:
- Rockets
- Jet engines
The faster the air escapes, the more thrust is produced - and the faster your car moves!
Watch the video!
Keywords: balloon powered car, thrust experiment for kids, Newton’s third law project, STEM car project, physics for kids, DIY balloon car, simple science experiments, air pressure experiment, kids science activity